Dreaming of an epic outdoor adventure? Here’s everything you need to know for Planning a Backpacking Trip!

Nothing beats a great backpacking trip, right? Leaving modern conveniences behind to spend several days out in nature, hiking and camping is such a refreshing experience! A trip like this really is a bucket list getaway everyone should experience at least once.
Whether you want to spend the Summer trekking though the wilderness of Alaska, witness the beauty of the Northeast in Fall, soak up the Winter sun in the vast deserts of the Southwest, or hike past Yosemite’s thundering waterfalls in the Spring, there’s always an epic destination waiting for you, any time of year. The hard part is deciding what breathtaking place you should visit!
But, if you’re new to backpacking and wondering, “How do I plan a backpacking trip?”, then look no further! This comprehensive guide for Planning a Backpacking Trip will show you everything you need to do from selecting a destination to figuring out logistics, and choosing the right gear to preparing physically for the adventure.
So, are you ready to plan your backpacking adventure? Here’s what you need to know BEFORE you go…
Planning a Backpacking Trip
#1: Pick a Destination
The first step to planning your backpacking trip is to pick a destination. Luckily, if you’re in North America, you have a huge variety of places you can visit year round, while taking advantage of the best temperatures. Below, I’ve listed out where to go, every season of the year.
Where to Go Backpacking in Summer:
Higher elevations are great for Summer backpacking, as they’ll be cooler. Mountains and forests are going to be your best bets! Here are a few of my favorites…
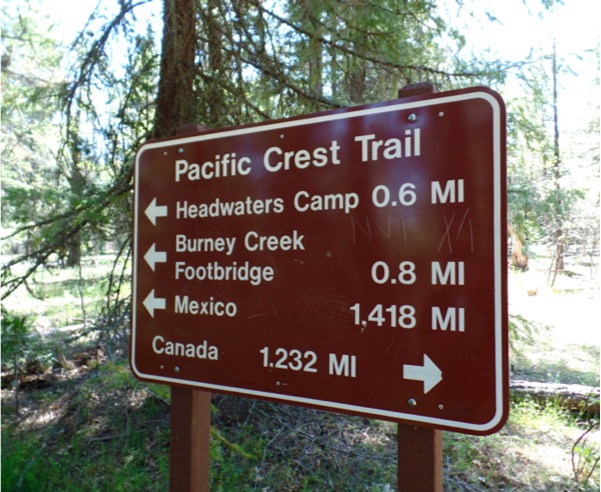
- Pacific Crest Trail – California, Oregon, Washington
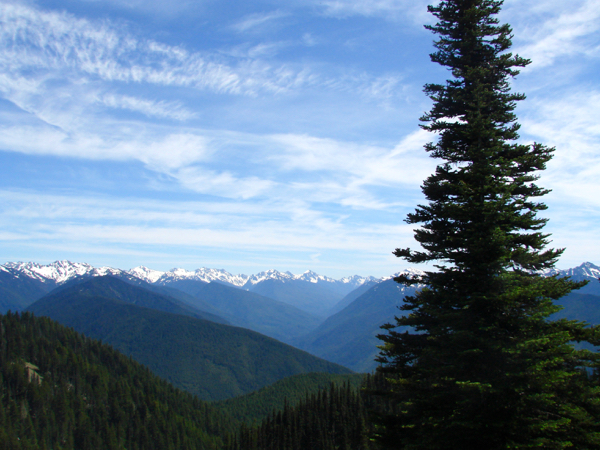
- Olympic National Park, Washington
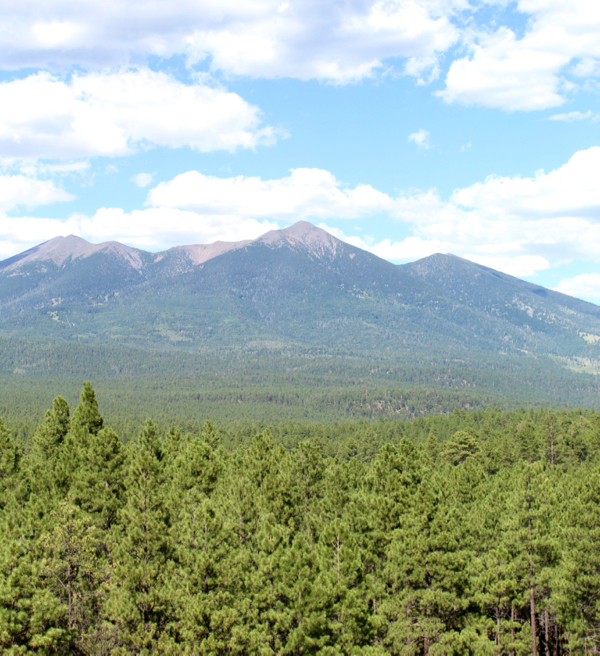
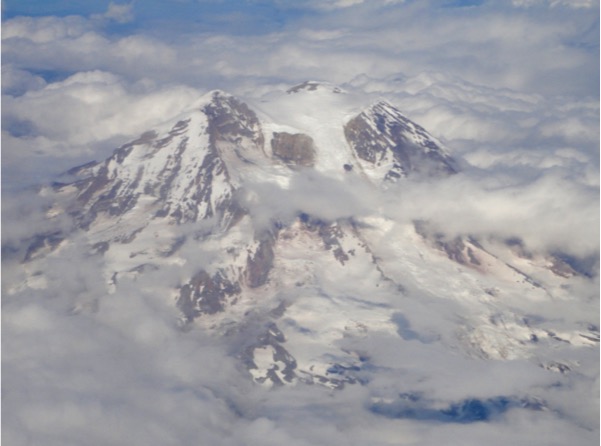
- Mt Rainier National Park, Washington
- Mt Hood National Forest, Oregon
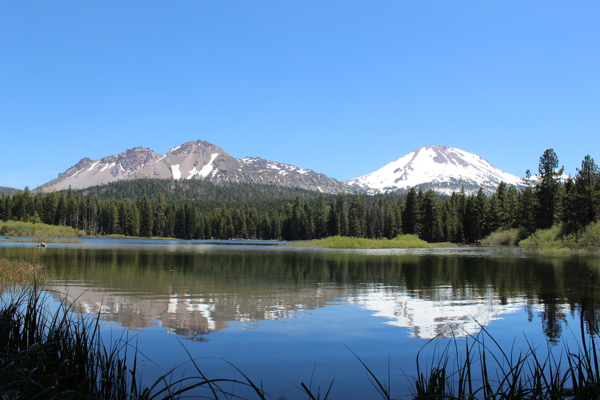
- Lassen Volcanic National Park, California
- Lake Tahoe area, California/Nevada
- Denali National Park, Alaska
- Wasatch Mountains, Utah
- Rocky Mountain National Park, Colorado
Pacific Crest Trail near Burney Falls, California
Olympic National Park, Washington
Mt Rainier, Washington
Lassen Volcanic National Park, California
Where to Go Backpacking in Fall:
Towards the end of September and beginning of October, high desert areas such as Southern Utah and Northern Arizona begin cooling off. So the Fall is a great time to plan a trip! Also, this is a terrific time of year to explore the Great Smoky Mountains and Vermont, with epic Fall colors in full swing! Consider planning hikes to these locations in the Fall…
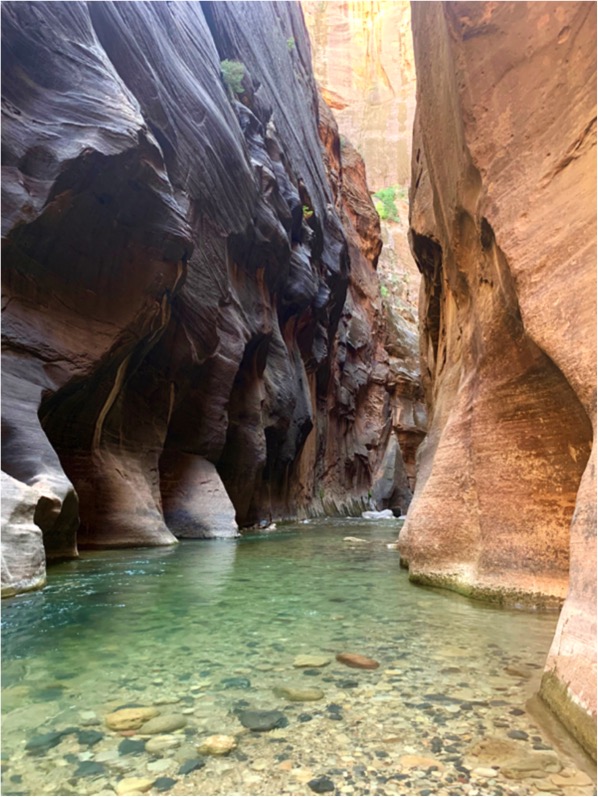
- Zion National Park, Utah
- Appalachian Trail – Georgia to Maine
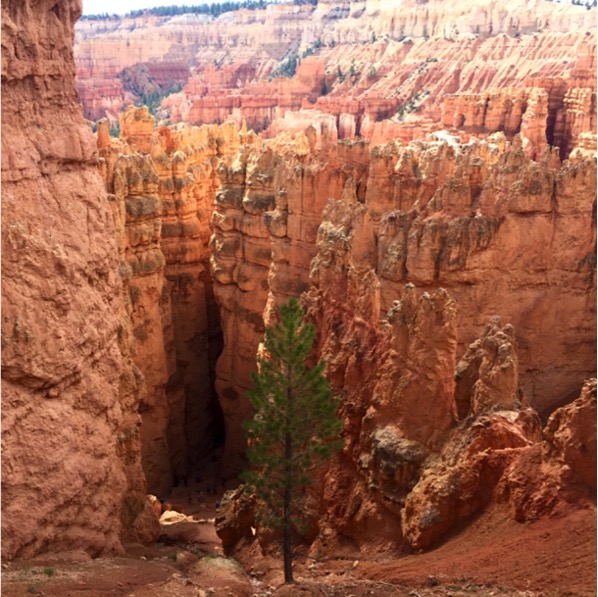
- Bryce Canyon National Park, Utah
- Great Smokey Mountains National Park – North Carolina/Tennessee
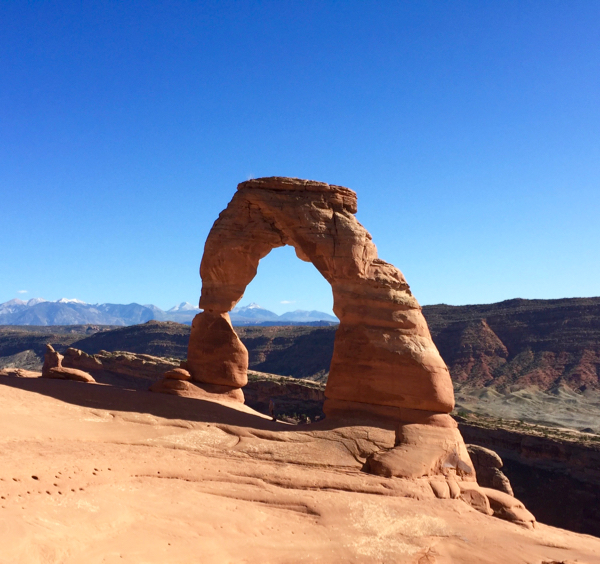
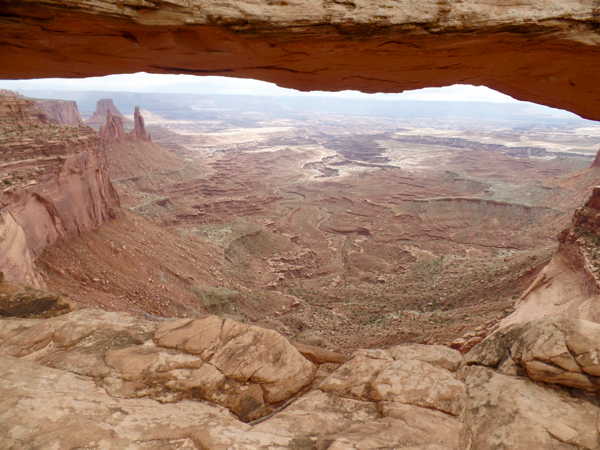
- Moab / Arches and surrounding area, Utah
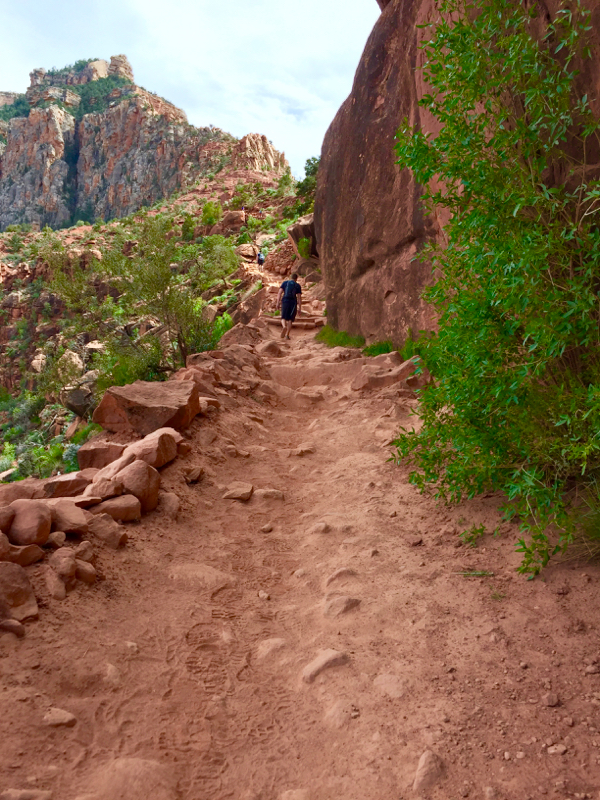
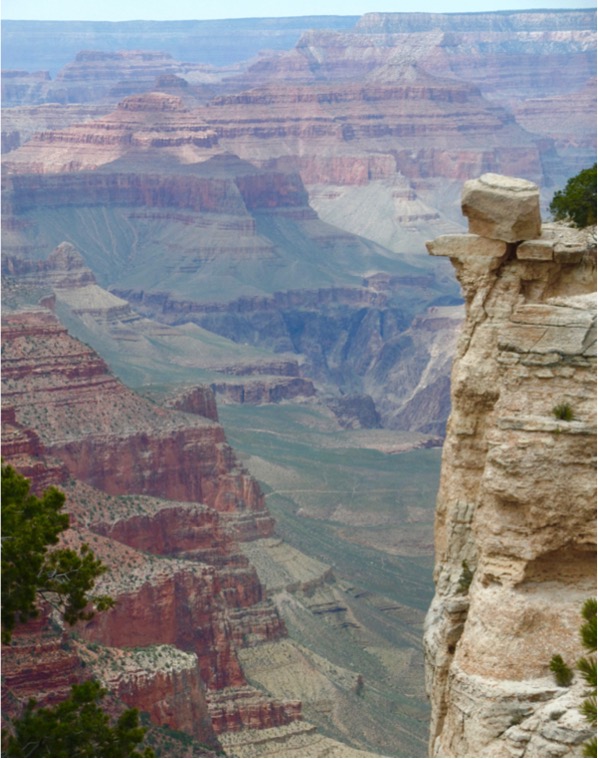
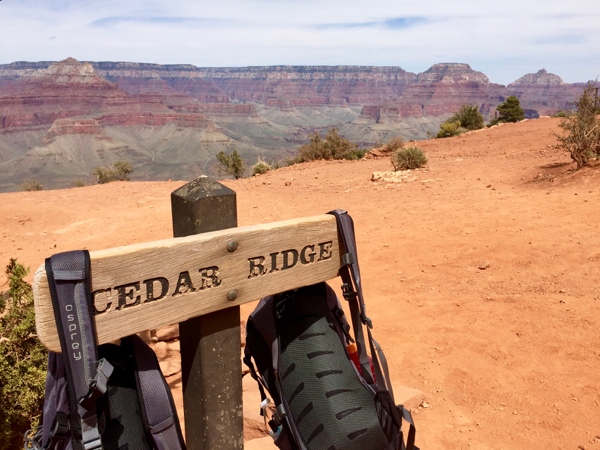
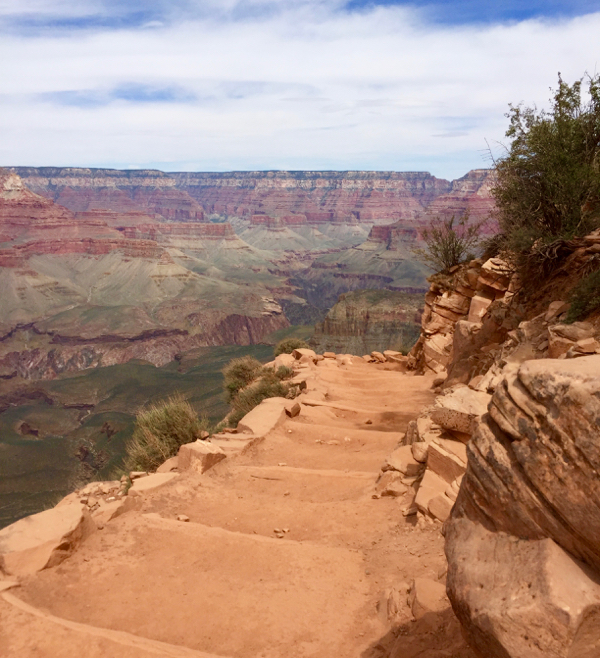
- Grand Canyon National Park, Arizona
- White Mountains, New Hampshire
Zion National Park, Utah
Arches National Park, Utah
Bryce Canyon National Park, Utah
Canyonlands National Park near Moab, Utah
Grand Canyon National Park, Arizona
Where to Go Backpacking in Winter:
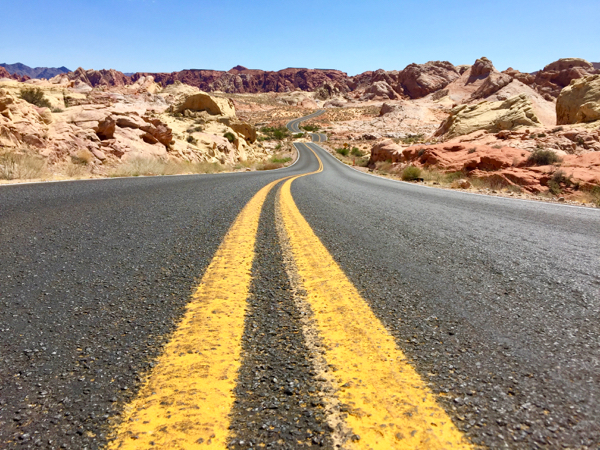
Mountains and forests can be intensely cold in the Winter (go figure), so it’s better to turn your focus to the sun. Southern California, Nevada, Arizona, New Mexico, and West Texas are your best bets for Winter backpacking trips. Following are some of my favorite Winter hiking locations…
- Big Bend National Park, Texas
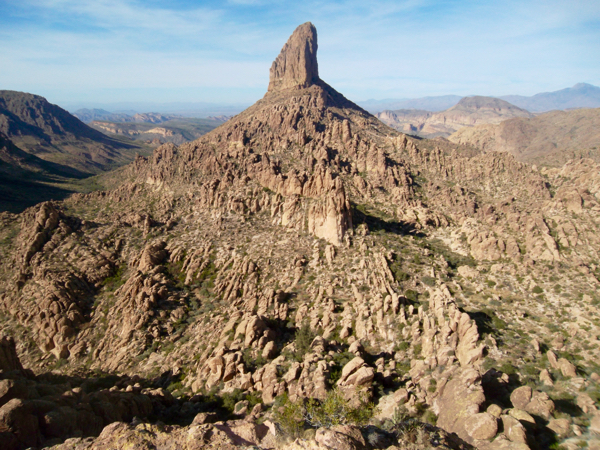
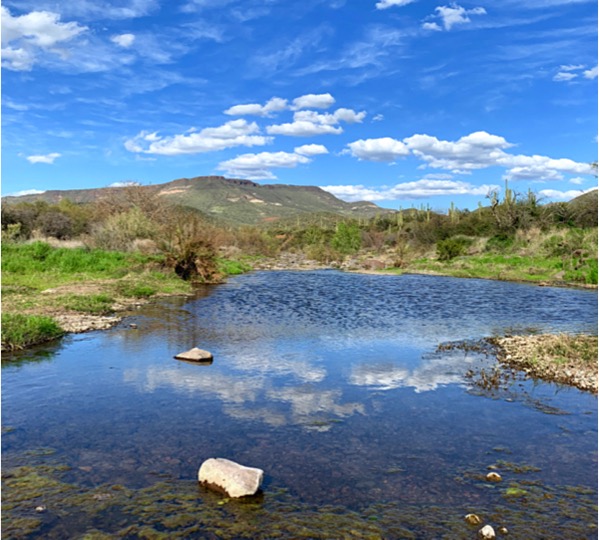
- Superstition Wilderness near Phoenix, Arizona
- Santa Catalina Mountains, Arizona
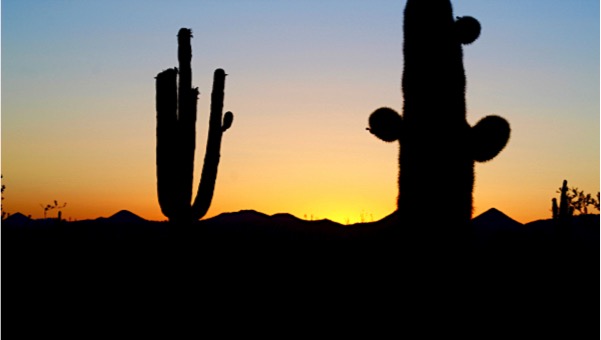
- Saguaro National Park, Tuscon, Arizona
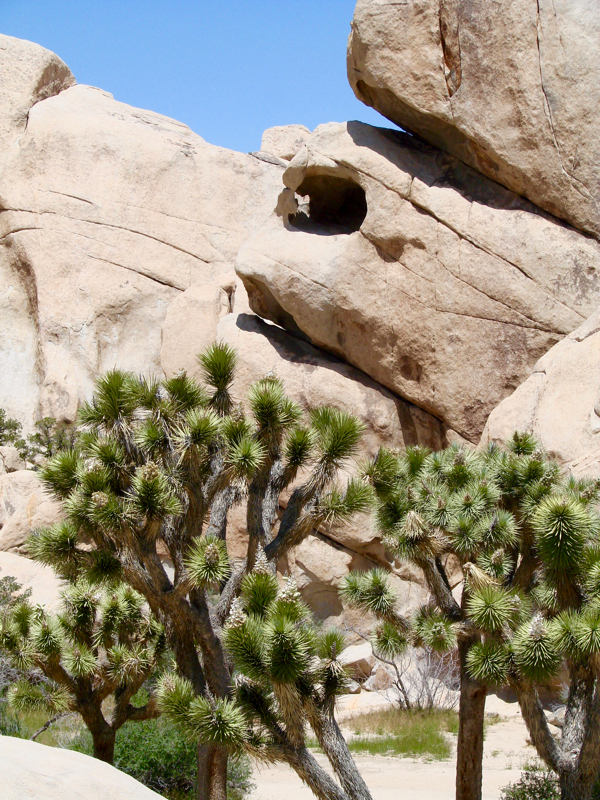
- Joshua Tree National Park, California
- Death Valley, California/Nevada
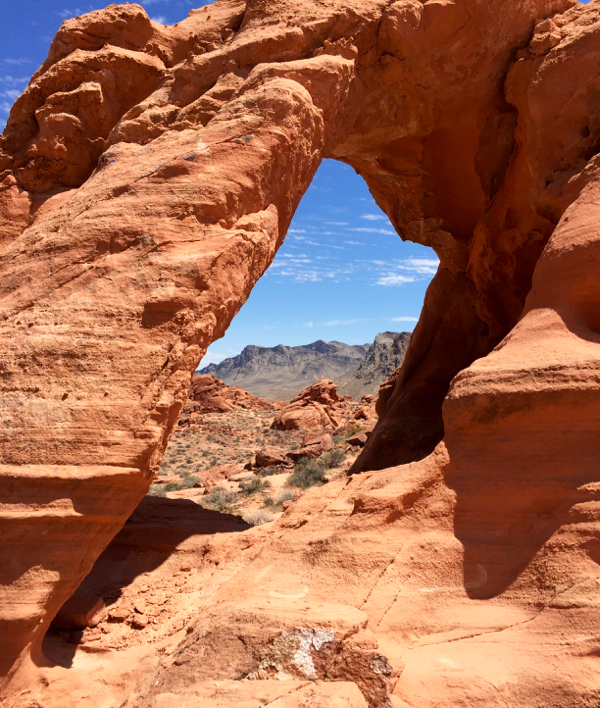
- Valley of Fire, Nevada
Superstition Wilderness near Phoenix, Arizona
Joshua Tree National Park, California
Valley of Fire State Park, Nevada
Where to Go Backpacking in Spring:
So where should you backpack in the Spring? Go anywhere with waterfalls – they’ll be in full flow! Also, just like in the Fall, the high deserts in Northern Arizona and Southern Utah have comfortable temperatures – just watch for the occasional thunderstorm here and there. Consider heading to one of these locations…
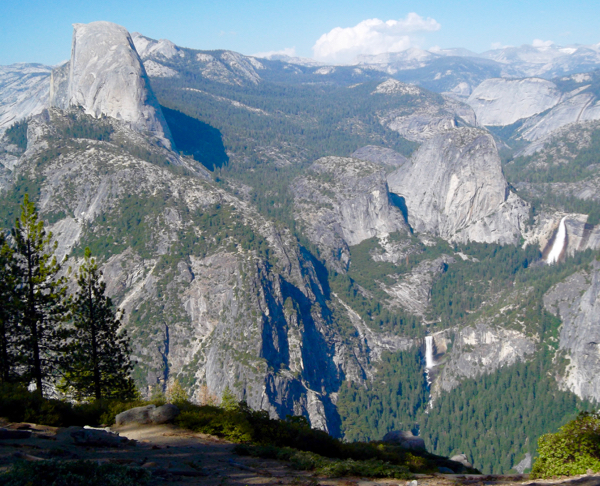
- Yosemite National Park – California (fewer crowds in the springtime)
- Grand Teton/Yellowstone area, Wyoming
- Glacier National Park, Montana
- Guadaloupe Mountains National Park, Texas
- White Sands National Park, New Mexico
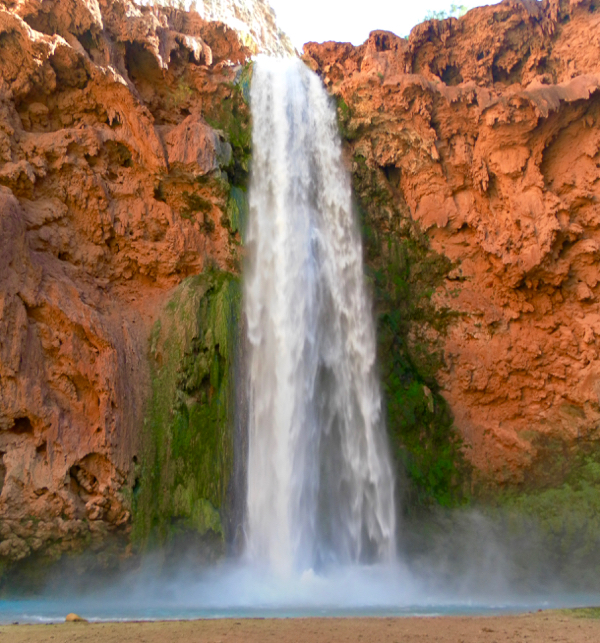
- Havasupai, Arizona
Yosemite National Park, California
Mooney Falls, Havasupai, Arizona
#2: Planning a Backpacking Trip – Research, Research, Research!
Now that you’ve decided on a destination, you need to do your research before you begin packing! The main things you need to look into are:
- Trail conditions: Check out the Alltrails site, or browse around different forums and see what people who have done the hike recently have to say. What are the trail conditions like?
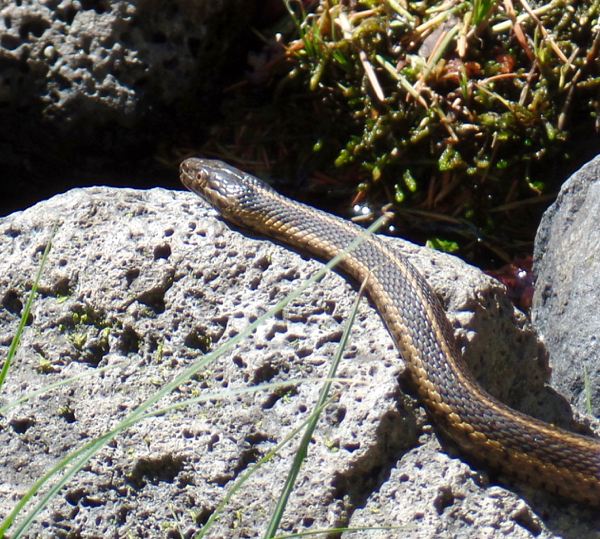
- Animals: Perhaps you’re heading to Denali this summer, and have to worry about bears. Or you’ll be in the Southwest desert, and need to deal with rattlesnakes and mountain lions. Be aware of what less-than-friendly animas you’ll be up against, and take preventative measures. On the contrary, if you’re into birdwatching or other hobbies of the sort, you could take advantage of this by packing lightweight binoculars!
- Weather: Some areas, like Moab in Utah or the Black Mountains in South Dakota, have insanely crazy weather! I’ve been in Arches National Park when it went from sunny to cloudy to raining to hailing to sunny again, all within a couple of hours. And that’s why you bring a rain jacket. 🙂
- Backcountry permits: Many National Parks and wilderness areas require a backcountry permit to go hiking. Some popular National Parks even have a 2-3 month waiting list! If you’ve decided on a destination that requires backcountry permits, get started right away on obtaining one.
One little California Whipsnake I had the pleasure of meeting in far Northeastern California. Actually, he was a friendly little fellow!
#3: Make a Packing List
Now, it’s time to make your packing list. Below is a pretty general list of things you’ll need, but it will vary slightly depending on the mileage, the climate of the destination, length of the trip, etc.
Just remember, when it comes time to load up your backpack, it’s all about the weight. Anything you can do to lighten the load will be a lifesaver later!
- Backpack – It wouldn’t be a backpacking trip, otherwise. 🙂 There are two kinds of backpacks: internal frame, and external frame. Internal frame backpacks stay closer to your body, and are better for more rugged hikes. External frame backpacks are a bit clunkier, and are better for maintained trails.
- Clothes – The main benefit of chasing warm weather is that you won’t need to pack so many layers, which in turn saves so much weight!
- Lightweight Tent/Sleeping Bag, or Hammock – A place to sleep is slightly important. 🙂 You may also want to bring along a lightweight sleeping pad and inflatable pillow to provide a little extra comfort.
- Non-perishable Food – Remember to keep a balanced diet while backpacking. Freeze dried food, bagels, and other foods that won’t get easily smashed are good to consider. I like to opt for high carb and high protein snacks as well. I’ve even taken pre-mixed tuna single servings along to spread on tortillas and bagels, and it was delicious… a lot tastier than a freeze-dried snack! I also like to pack Potassium Pills. They take less space than bananas, and are a lifesaver when those leg cramps kick in.
- Water – Always bring more than you think you’ll need. Research ahead of time if there are any places where you can refill. Just in case, don’t forget to bring a Lifestraw as well! It’s such a great, compact water filtering tool.
- Topographic Map and Compass – While the modern GPS is great, it’s always good to know the basics of land navigation and have a topographical map, a compass, and a protractor.
- Swiss Army Knife – These really are the perfect tool to solve those problems that seem to come out of nowhere.
- First Aid Kit – never go without one.
- Fire Starter
- Portable Phone Charger
- Miniature Deck of Cards
- etc…
For a full backpacking checklist, you can check out my comprehensive Backpacking Gear Guide.
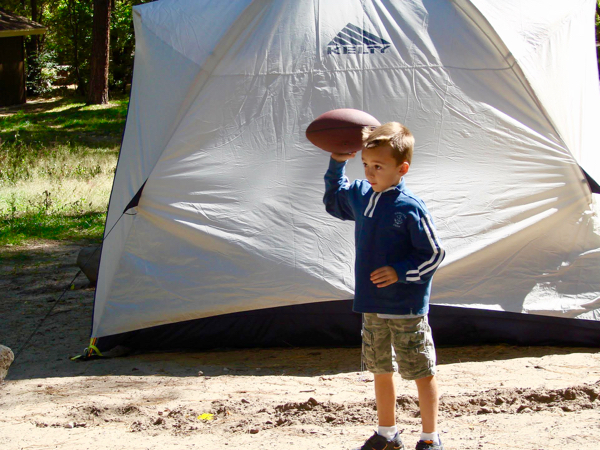
#4: Practice Packing Your Pack and Setting up Your Tent
A great backpacking tip for beginners is to practice setting up your tent in your backyard. The last thing you want on your backpacking trip, after hiking for several miles, is to spend a long time fumbling around with your tent as the sun is setting. Practice by setting it up once or twice, and you’ll get the hang of it!
Also, once you have gear on hand, start practice packing as well. One useful thing an REI employee told me years ago was to pack lighter things down low {by your hips/lower back}, go heavier in the middle, and lighter at the top, by your shoulders. That really balances out the weight in your pack, and makes hiking a lot easier on your body.

#5: Condition for the Hike
While you don’t need to train to be an Olympic Athlete to go on a backpacking trip, it really helps to be in decent hiking shape before you go! I even like to do lunges and step-ups to prepare my legs for climbing on the trails.
Start incorporating morning or evening walks and jogs to build up endurance, and go on day hikes near you to break in your hiking shoes. Actually, you could strap on your backpack, add a little weight, and do some practice backpacking as well.
Start doing planks and even sit ups. It may seem strange to work out your abs, but strengthening your core helps a lot while carrying a backpack!
Once you build up your hiking endurance and your core strength to carry your pack, you’ll be much better prepared to go on the hike.
#6: Let Someone Know Where You’re Going
One of the best backpacking tips is to always give a close friend or family member your hiking itinerary. It’s always good to have someone know where you’re going just in case things go awry. Remember, when it comes to backpacking, plan for the worst, but hope for the best! Small preventative measures like this could turn out to be lifesavers.
#7: Call the Local Ranger Station to Check the Weather.
Not only is calling into the local ranger station important, but a must, if you’re hiking through a slot canyon, or crossing a stream or river. You don’t want to get caught up in the storm surge!
#8: How to Set up Camp
When it comes to setting up camp for the night, do your best to reach your destination while you still have plenty of daylight. Setting up in the daylight is so much easier than setting up in the dark.
Naturally, you’ll want to find a flat spot to place your tent. Remove any large rocks that may be underneath the tent, as you won’t want to roll around on those in the night.
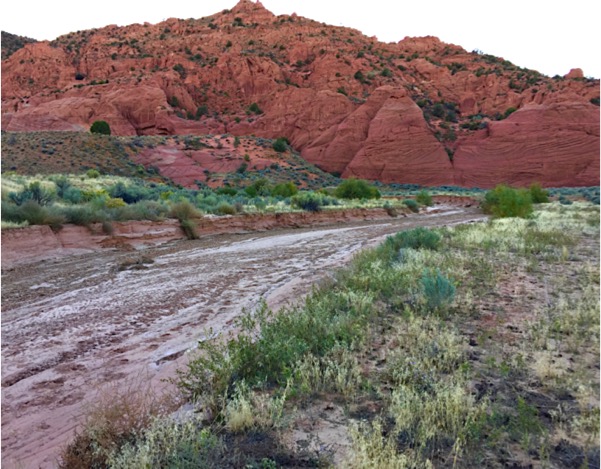
Also, look for high ground. It can be temping to place your tent in a low area where water could collect, or worse yet, in a soft and sandy wash, but in the cash of a flash storm, your tent could get flooded out and even washed away. Not good at all!
Don’t set your tent up in a sandy wash like this one! It can go from dry to flooding in seconds!
Once you get your tent set up, secure it down in the corners by using stakes and large rocks. Next, dig a trench around your tent to prevent it from getting flooded out in the night if a storm comes. The goal is to guide water away from your tent so you can stay dry. This is especially important if you’re in an area prone to crazy thunderstorms.
#9: Consider Doing a Hike and Road Trip:
An epic way to travel for cheap is to do a backpacking/road trip mix. Think about it:
- You don’t have to pay for airfare.
- Camping is much cheaper than staying in hotels, or even alternative types of accommodations such as home rentals.
- You can buy your own food instead of eating out.
- And you can take advantage of free and cheap hikes!
Another advantage to doing a hike and road trip combo, aside from the economical aspect, is that you can even visit multiple destinations! You can check out my American Southwest Road Trip Itinerary and my California Road Trip Itinerary for some 2-week road trip ideas out West.
Also, check out my tips for How to Road Trip on a Budget.
#10: Go!
Now that you are ready to go on your backpacking trip, the next step is to, well, simply go! And remember one thing, have fun! Take lots of pictures and enjoy your time out in the wilderness unplugged!
So now that you’ve seen this backpacking planning guide, go check out even more budget travel tips below…
Most Incredible National Parks
Camping Gear Guide
Road Trip on a Budget
Travel Photography Tips
So now that you’ve seen all of these tips for how to plan a backpacking trip, don’t miss out on anything else! Follow along with Never Ending Journeys for more fun Travel Inspiration and Ideas!


So, what are YOUR best ideas for planning a backpacking trip??
Leave a Comment and Share!
Aimsy says
These are great tips. I wouldn’t know where to start or what to do with backpacking/camping, so these tips are really useful!
Thanks for sharing 🙂
Aimsy xoxo
Aimsy’s Antics
Never Ending Journeys says
Thank you so much, Aimsy! I’m glad this can be of help.
CoCo says
These are all such great tips and tricks! It’s such a great time of year to get out and enjoy nature too. Thanks for sharing, CoCo
Never Ending Journeys says
Thank you, CoCo. I agree, Summer is one of the best times for backpacking!
Lauren says
Great tips! Such a helpful post, I wouldn’t know where to begin with backpacking, but this makes it seem totally doable!
Never Ending Journeys says
Thank you, Lauren! I’m glad this guide can be useful!
Josiah - DIY Thrill says
These are some great tips, thanks so much for sharing!
Never Ending Journeys says
I’m glad you like them!