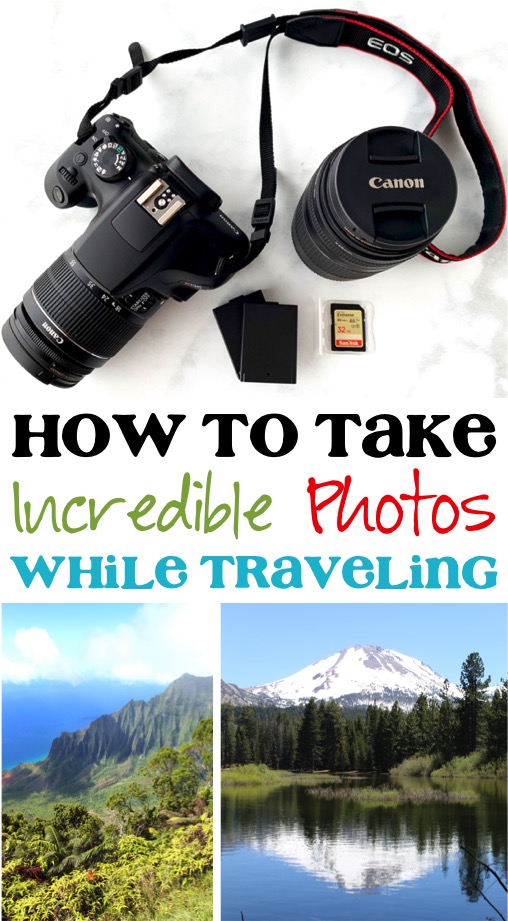
Are you ready to take your photography to the next level? These Travel Photography Tips and Hacks will have you photographing like a pro in no time!
Are you ready to take your travel photos to the next level? You’ve just hit the jackpot of Travel Photography Tips and tricks!
Learning the art of Photography, in essence, is really no different than learning any other skill like Cooking, playing a musical instrument, or learning a foreign language. With daily repetitive practice, and always looking for ways to learn from others, your photography skills can begin to advance rapidly!
Traveling is the perfect time to put these skills to use! When in a new destination, your senses are heightened, everything around feels so exotic, and there is no better time to put your camera skills to use! These Travel Photography Tips will give you a base off of which you can begin advancing your skill level.
Are you ready? Let’s get started…
Travel Photography Tips
#1: Get to Know Your Camera Before You Leave on Your Trip
This is probably the most crucial tip! Before spending your time and money traveling, you should really have a good idea of how your camera works, and get a good feel for it if you’ve just recently purchased it. Practicing taking pictures on your camera a little bit every day, even just 15 or 20 minutes, will help you learn.
#2: Think Ahead and Plan What You Want to Shoot
Take the time to plan ahead and make notes of what types of shots you hope to get at each location you visit. By getting an idea for what you want to photograph on your trip, this will help you prioritize packing. Check out location hashtags on Instagram, Google Images Search – try [destination] photography, etc for inspiration and to get those creative juices flowing.
#3: Wake up Early for the Sunrise and Golden Hour
Waking up early, you can kill two birds with one stone. Well, not literally… but you will get some great shots! 🙂 Not only do you avoid the onslaught of selfie-stick wagging tourists, but you also get better lighting as well! This allows you to capture a sight when it’s quiet and the lighting is preferable. You’ll love the sunrise shots you’re able to capture as well as the lovely golden hour photos that you’ll take within the hour after sunrise.
Greater Phoenix Area, Arizona
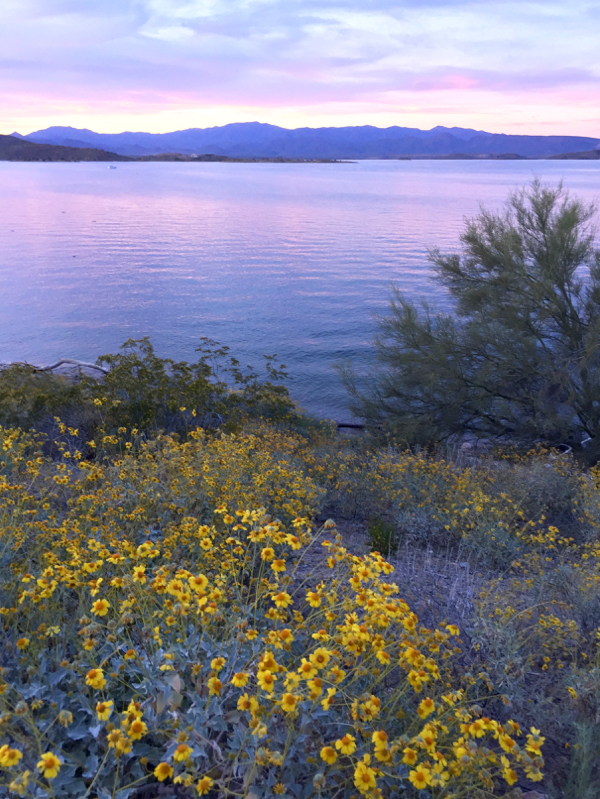
#4: Catch the Sunset, Then Stay Out Later
Lake Pleasant – North of Phoenix, Arizona
On the contrary, if you’re simply not a morning person, take the time to catch the sunset somewhere picturesque, then move on to your next location. Staying out a little later will also help you capture the sight when the tourists have been herded back to the bus. Of course if you’re in a bigger city you’ll want to take normal precautions as for safety. For some easy tips and tricks to stay safe while on vacation, check this out…
Vacation Travel Safety Tips
#5: Travel Slow and Explore the Location
Remember the tip about making a plan? While having a plan is paramount to success… sometimes, it’s okay to put the itinerary away and simply go explore! Take your time, travel slow, and you won’t miss out on a thing.
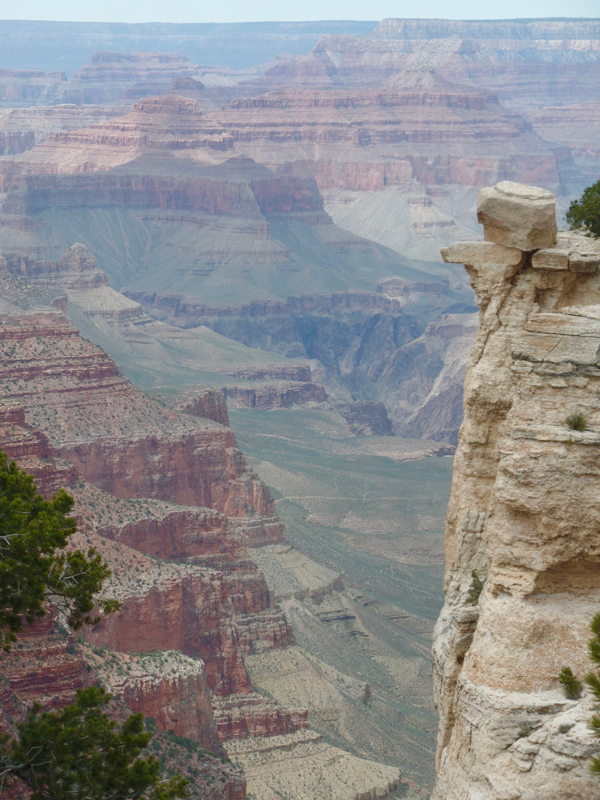
Grand Canyon photos that I’ve taken, and what are usually taken by the majority of tourists are those wide angle shots showing how vast and wide the Canyon is. However, my mission on this particular day was to showcase the incredible depth of the Canyon. That’s hard to do from the viewpoints, which are always protruding way out. So after walking about a mile or so down the Rim Trail, I finally found my perfect spot, which I photographed below!
South Rim, Grand Canyon National Park, Arizona
#6: Try New Angles at Popular Sights
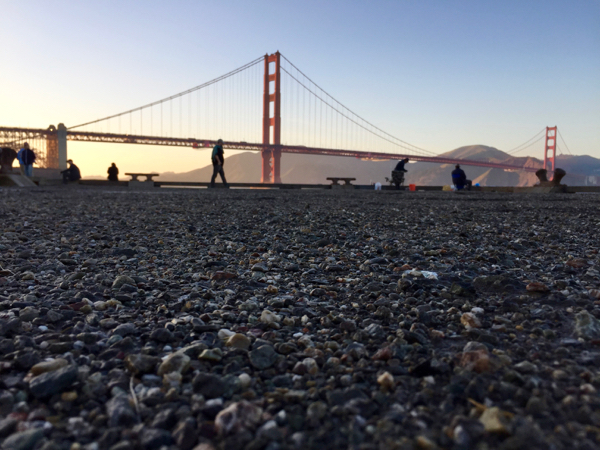
In the last few years with the rise of social media, we’ve all seen photos of those same sights over and over again – typically in the middle of the day, with harsh lighting and hordes of tourists! But along with the typical angles, take time to try some new angles, too. Sometimes the quirkiest or most interesting shots can become favorites!
The Golden Gate Bridge, as viewed from Torpedo Wharf, San Francisco, California
#7: Use People in Landscape
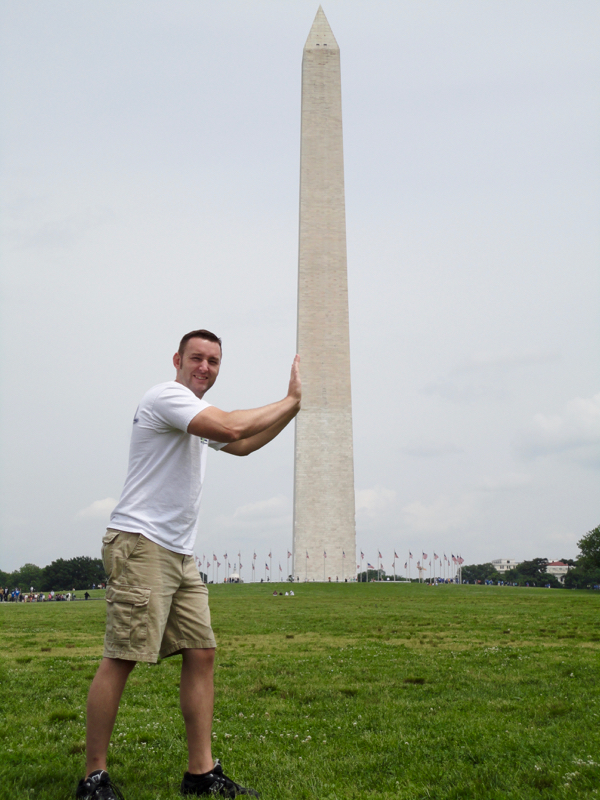
Sometimes in a grand landscape shot, it can be hard to really capture the dimension of a place. Massive mountains look tiny, towers look small – these are all common issues. Adding people, trees, plants, cars, or anything people are familiar with can be really helpful. Or… you can have fun with it and have your subject in the foreground seeming much larger in scale than they really are, like this…
Washington, DC
#8: Look for Reflections
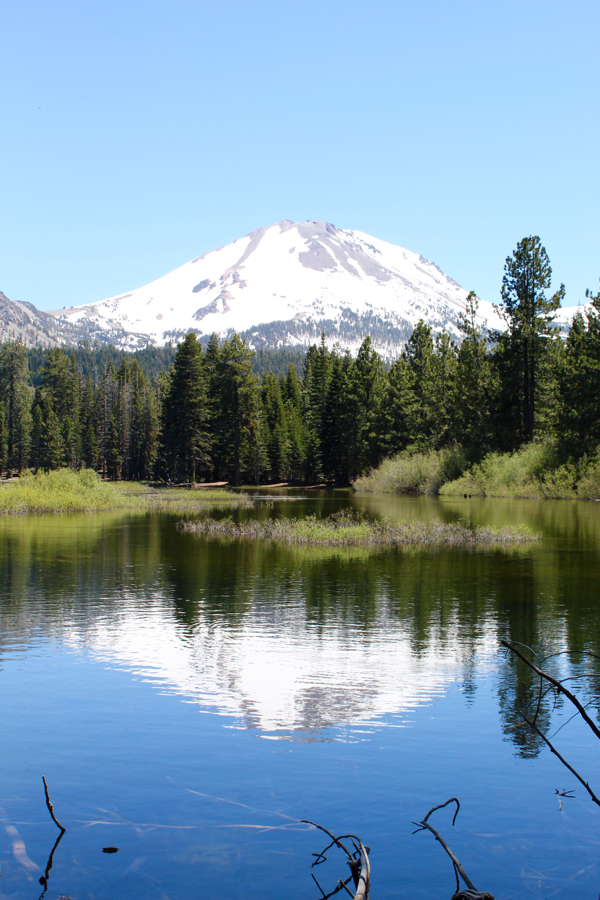
Reflections help give a photo better balance, as well as being more aesthetically pleasing to the eye. When using lakes and large bodies of water, it’s better to take your photos earlier in the day before the afternoon winds pick up and stir the water. Then you’ll get that gorgeous calm, glassy water reflection you’re hoping for.
Lassen Peak reflected in Manzanita Lake, Lassen Volcanic National Park, California
#9: Patience is Crucial
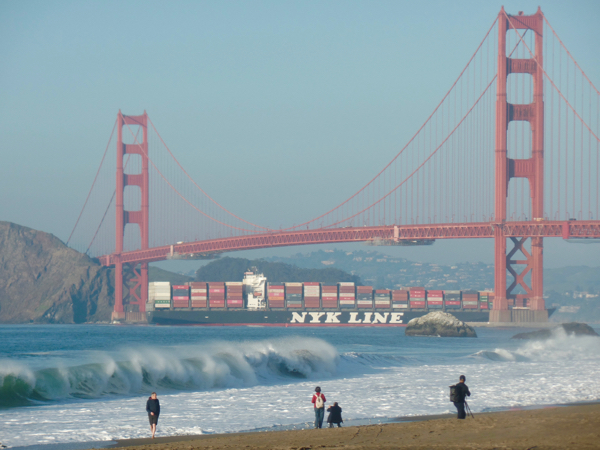
While many photos taken on-the-go can turn out to be some of the best, so can the photos that require patience. In this photo below, taken at Baker Beach in San Francisco, I waited nearly an hour before waiting for the cargo ship and perfect wave before finally getting my favorite shot!
Baker Beach, San Francisco, California
#10: Play Around With Composition
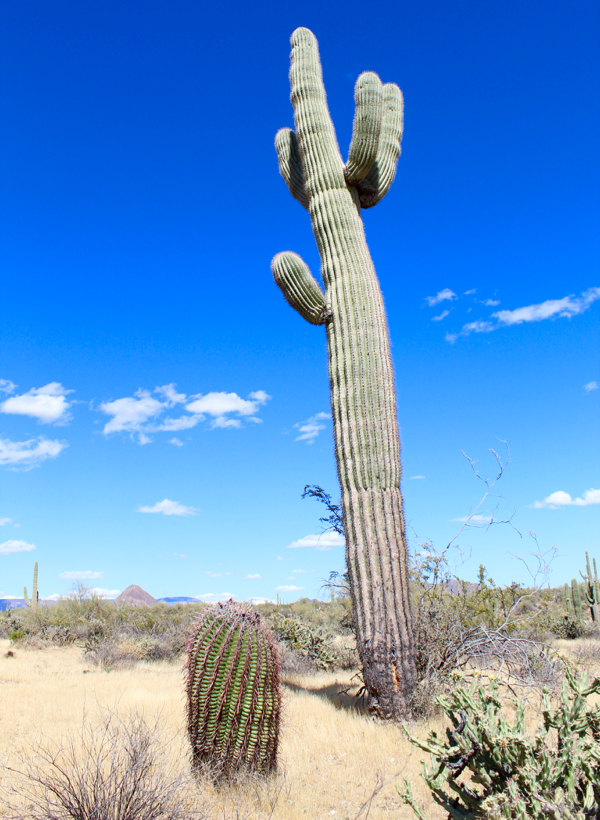
When it comes to composing the photo and seeing what you want to draw the viewer’s eye to, playing around with different angles really comes in handy. Similar to tip #6 above, fun composition doesn’t have to be limited to just iconic sights. You can use it in portraits, landscape, street photography, and more!
In the Sonoran Desert North of Phoenix, Arizona
#11: Use Leading Lines
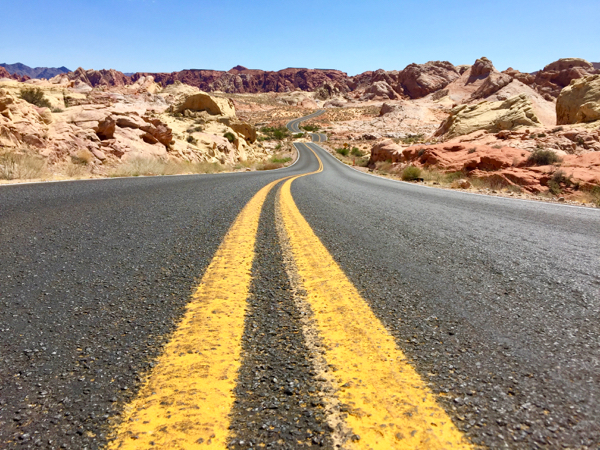
One of the critical points of all genres of photography is to lead the viewer’s eyes to the subject. By looking for lines, whatever they may be – road lines, trails, railings, anything! – your photographs can begin to take advance above amateur levels.
Mouse’s Tank Road, Valley of Fire State Park, Nevada
#12: Always Be Prepared
There’s the old adage that goes, “The best camera is the one you have with you.” So have your camera ready at all times. You just never know what opportunities may arise when you’re out and about! Like this beautiful sunset I captured at Point Reyes in Northern California. Opportunities are endless when it comes to photography.
Point Reyes National Seashore, California
#13: Capture the Seasons
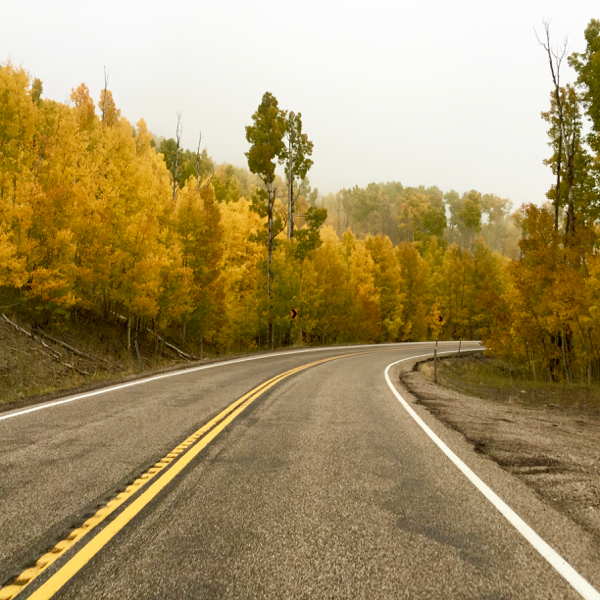
Snowy mountains, Spring blossoms, Summertime sun, and changing Fall colors – these are all wonderful ways to include the element of season into your photographs. Whether it be Japanese Cherry Blossoms in the Spring, Fall Colors in Vermont, or a bustling ski resort in Winter, incorporating the seasons into your photos can take up your game a few notches.
Fall Colors on Highway 12, Utah – near Bryce Canyon, Utah
#14: Pack Only the Essentials
Pack only the lenses and gear that you’re going to actually use. Otherwise, you’re just lugging around extra bulk and pounds that in essence you actually don’t need! Look over places/events you wish to photograph, and plan accordingly when packing.
#15: Bring a Lightweight Travel Tripod
One of my favorite travel photography tips is to bring a lightweight tripod along. This is something I really recommend if you’re going after landscape shots, astrophotography, or long exposure. It can be so helpful to capturing crisp, clear scenery shots as well.
#16: Research Events Going on
Before planning a trip, see if there is anything going on in the destination you’re about to visit. Events, parades, and festivals play a great role in a destination’s culture, and this can be a great time to capture some memorable travel photos.
#17: Plan Around the Weather
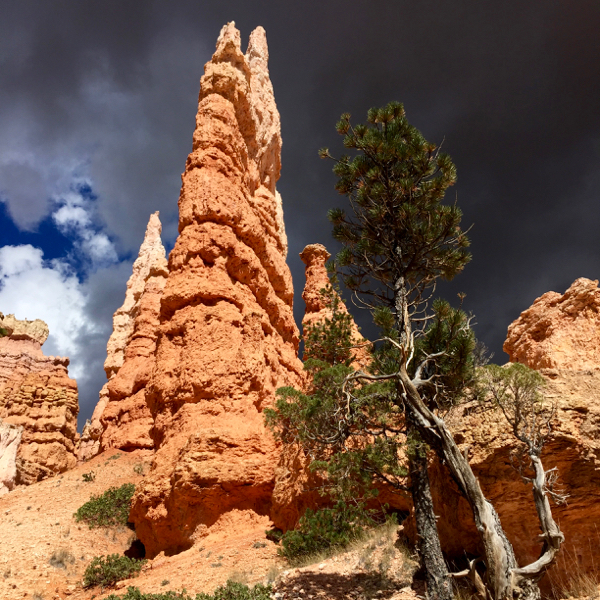
When you’re traveling and on the go, it can be tricky to get the weather just right. There may be too many clouds at that perfect sunset spot, or rainy weather at the iconic sight. However, you can use subpar weather to your advantage, if you’re willing to be flexible and creative! Some of my favorite photos I’ve taken over the years have actually been in situations like this, where I was able to capture a unique perspective of Bryce Canyon while the roaring thunderstorms rolled in on a hike.
Bryce Canyon National Park, Utah
#18: Pack Multiple Cards
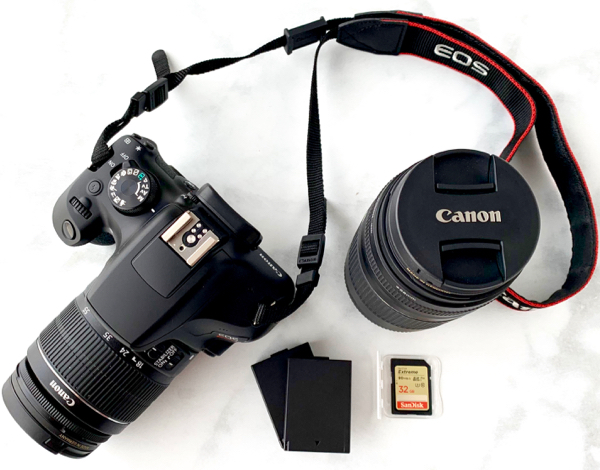
When you’re spending a large chunk of the day taking photos of your surroundings, your cards can fill up rapidly! By taking multiple cards, you can prevent the tragedy of having full cards. I always like to travel with at least 2 – 3 cards with me at all times.
#19: Load Photos onto Your Hard Drive Every Night
If you bring your laptop along, you can load your photos from your SD card onto your laptop, and then onto an external hard drive in addition to that. This gives you two backups for your photos, as well as helps you clear off your camera cards, leaving room for more photos!
#20: Take Multiple Batteries
Also, take three charged batteries, as well as a charger and Voltage Converter (if you need it) along. The last thing you want happening is running out of battery when you’re photographing a beautiful scene!
#21: Have Fun With it!
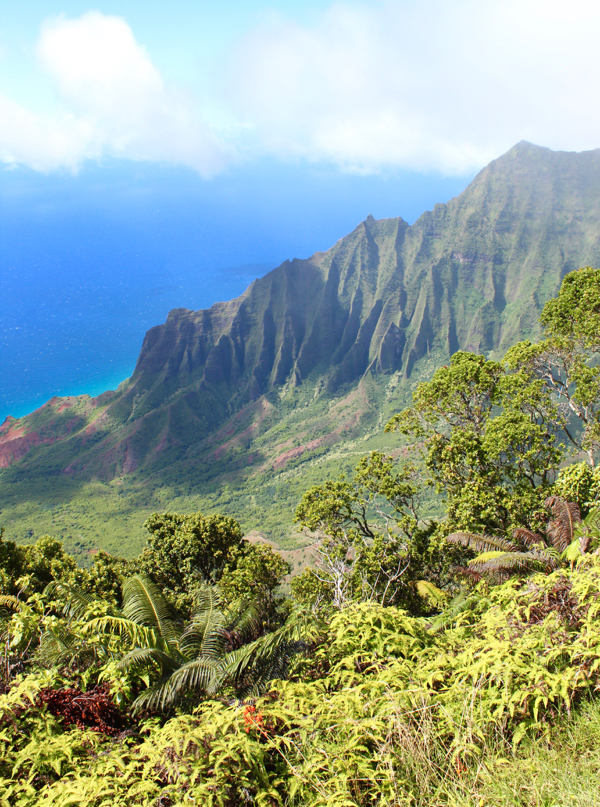
Most importantly, just remember to have fun with it! Photography is a creative art, and it’s important to find your own style. And every once in a while, don’t forget to put the camera down and enjoy your surroundings. 😉
Kalalau Lookout, Koke’e State Park, Kauai
So, now that you’ve seen these Travel Photography Tips, are you looking for even more ways to take up your photography game and savvy travel tips? Go check out my favorites below…
Phone Camera Photography Tricks
Photography Lover Gift Ideas
Bucket List Trips (Epic Destinations)
Road trip on a Budget – Genius Money Saving Hacks
Backpacking Gear Guide
Now that you’ve seen all of these Travel Photography Tips and Tricks, don’t miss out on anything else! Follow along with Never Ending Journeys for more fun Travel Inspiration and Ideas!
So, what are YOUR Favorite Travel Photography Tips??
Leave a Comment and Share!




Leave a Reply