Are you ready to take your blog to the next level? Then go check out these Blog Photography Tips!
While every skill used in blogging is worth investing some time into, there is one skill in particular that stands out from the rest: Photography. Good photography is what takes an average blog, and makes it great!
Improving your photography is what will really make you stand out from everyone else on social media. Clear and crisp creative images, when complemented with a well-written article, is what will make readers coming back for more of your content!
But where do you start? These Blog Photography Tips will help guide you through the wonderful journey of improving your photography, one that I’ve really come to enjoy.
So, are you ready to get started? Here are some simple steps to help you take your blog photography to the next level…
Blog Photography Tips:
Quick side note: If you haven’t already started your Blog, go start one now. It’s fast, affordable, and you can begin today!
Now on to the tips!
Blog Photography Tips – Improving Your Photography
Now I know this sounds basic, but the most important thing you need to do if you want to improve your photography, is to first start taking more photos. Just make a point to pick up your camera or smartphone and take a little bit of time each day to work on your photography!
Long before I ever upgraded to a DSLR, I loved photography. I practiced frequently, with either my smartphone or small snap-and-shoot camera. It was during this period that I really started to learn about many of the rules of photography, things like…
- The rule of thirds
- Using leading lines (in landscape photography)
- Taking advantage of the soft light of the Golden Hour
- And more.
While having a DSLR is the ultimate goal, you can still prioritize developing your photography skills now.
So, on to the tips!
#1: Use the Rule of Thirds
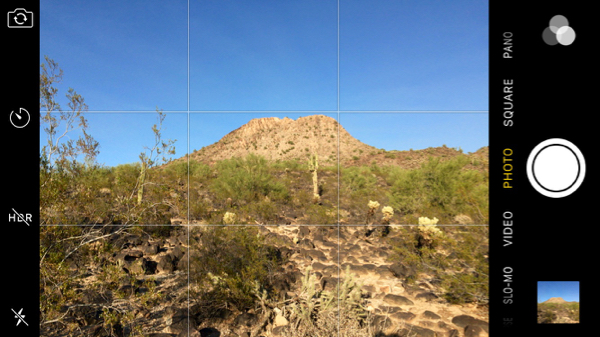
The Rule of Thirds is no doubt, one of the most famous photography rules on composition. Almost all cameras and smartphone cameras have an option where you can turn on gridlines, which are two vertical and two horizontal lines which divide the screen into nine quadrants.
So here’s what it looks like on an iPhone:
- Related: 15 Phone Camera Photography Tips
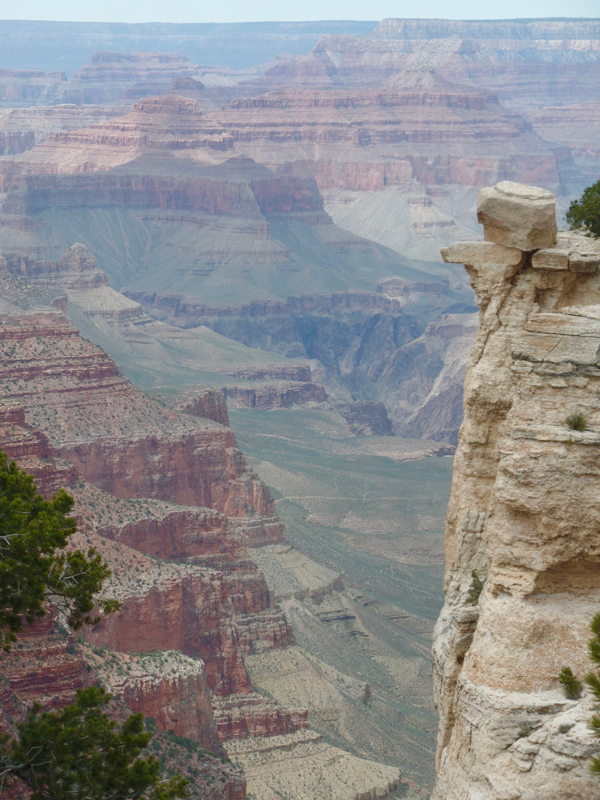
Now, the gridlines as you may have noticed intersect at four spots in the screen. Now, when you place the main subject of the photo on one of these 4 points, it creates a more visually appealing photo overall. Since learning about this a couple of years ago, I have used this trick all the time!
Notice the rock in the upper right corner on the photo below…
South Rim, Grand Canyon National Park, Arizona
#2: Use Leading Lines in Landscape Photography
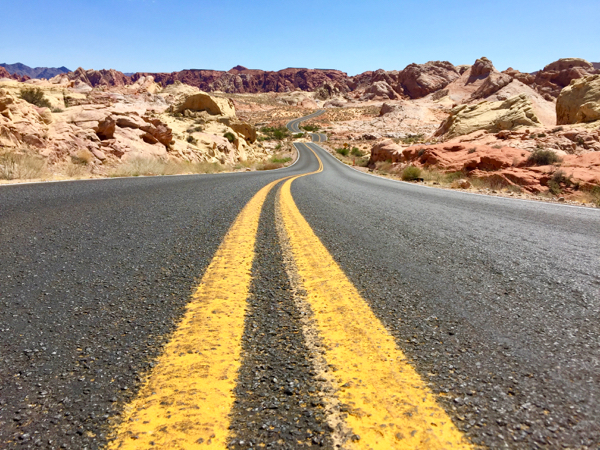
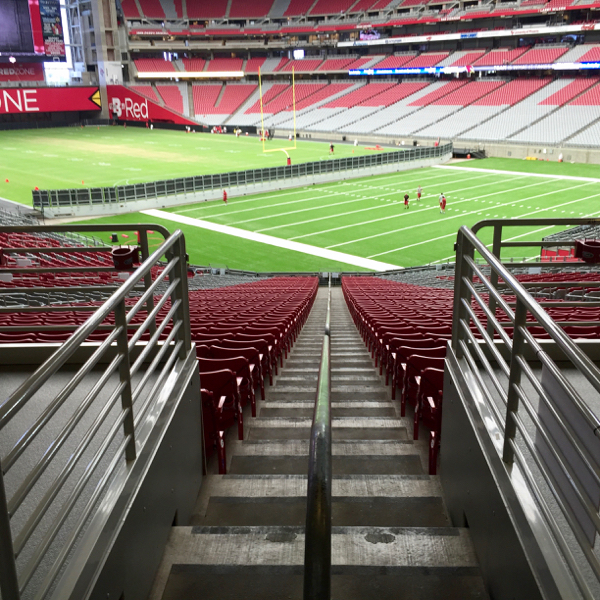
Another critical point in almost all genres of photography is to lead the viewer’s eyes to the subject. By looking for lines, whatever they may be – road lines, trails, railings, etc – you can add some great visual appeal to your pictures.
Below are some examples of using leading lines, with the road and the railing…
Mouse’s Tank Road – Valley of Fire State Park, Nevada
State Farm Stadium – Greater Phoenix Area, Arizona
#3: Take Advantage of Softer Light in the Golden Hour
- Go check out these 15 Phone Camera Photography Tips here to get started!
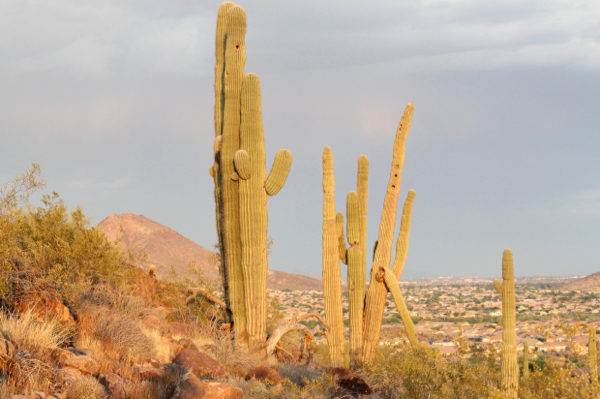
The Golden Hour is a photography term used to describe the first hour after Sunrise, and the hour before Sunset. Now, the advantage to taking photos during the Golden Hour is the warm, soft lighting you have to work with! Plus, if you’re traveling, you can avoid crowds at many popular sites.
Golden Hour in Phoenix, Arizona
Blog Photography Tips: Indoor Photography
#4: Take Photos By Windows for Better Lighting
The previous three tips have been mainly for outdoor photography, but what about indoor photography?
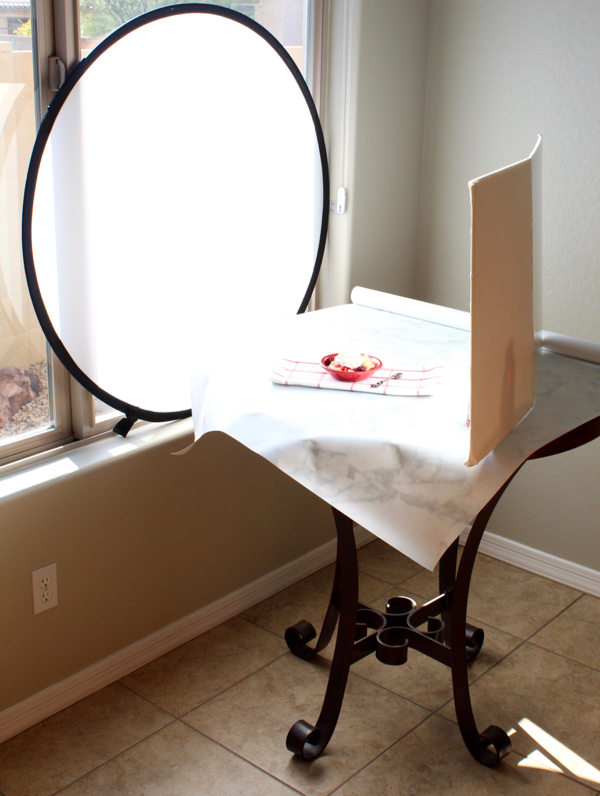
When taking photos inside, lighting is crucial. You don’t have the abundance of light that you have when working outside, so getting creative is key! Taking photos by windows, especially South-facing windows, can give you the natural light that you need. By setting up a Light Reflector, a Light Bouncer, and of course a Background for the photo that you are staging, you can give yourself the perfect setup for photography.
Now if it’s too sunny, make sure you have some sheer blinds, sheer curtains, or a Translucent Photography Reflector to block out the harsh sun.
From left to right: Light filter, rollout, and light bouncer (the foam board)
Blog Photography Tips – Camera Gear
#5: Upgrade to a DSLR Camera
- Related: Side Hustles You Can do From Home to Save up for a Camera
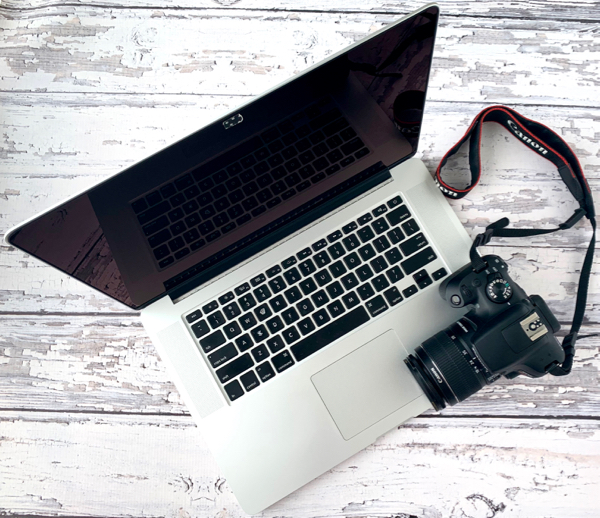
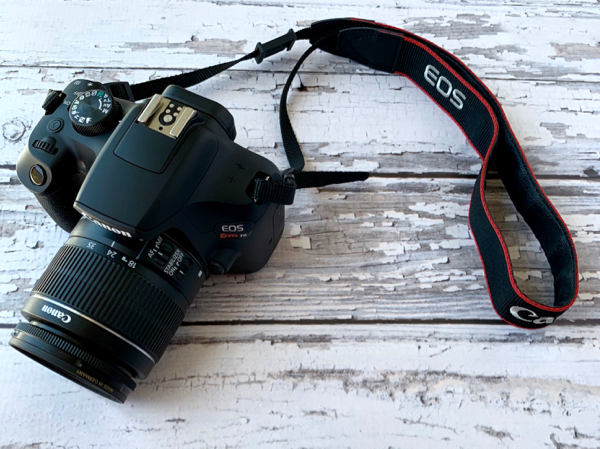
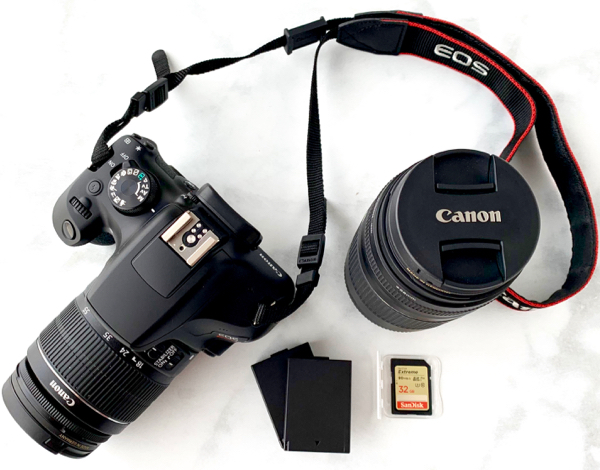
For my DSLR camera, I use a Canon Rebel T6. The rebels are one of the highest rated DSLR’s available, are affordable, and really enjoyable to use! You can add different lenses and accessories down the road as well. I HIGHLY recommend them!
#6: Upgrade Your Camera With Additional Lenses
Now that you have your camera, it’s time to add some additional lenses to your collection. There are so many lenses to choose from, and each one serves a different purpose. Adding more lenses will allow you to photograph a wider range of subjects. In addition to the standard 18-55mm kit lens, I also recommend…
- The 75-300mm Lens (for zooming)
- The 50mm f/1.8 Lens (for up-close Food Photography or blurring out backgrounds)
- The 24mm f/2.8 Lens (for wide-angle scenery shots)
#7: Get a Tripod
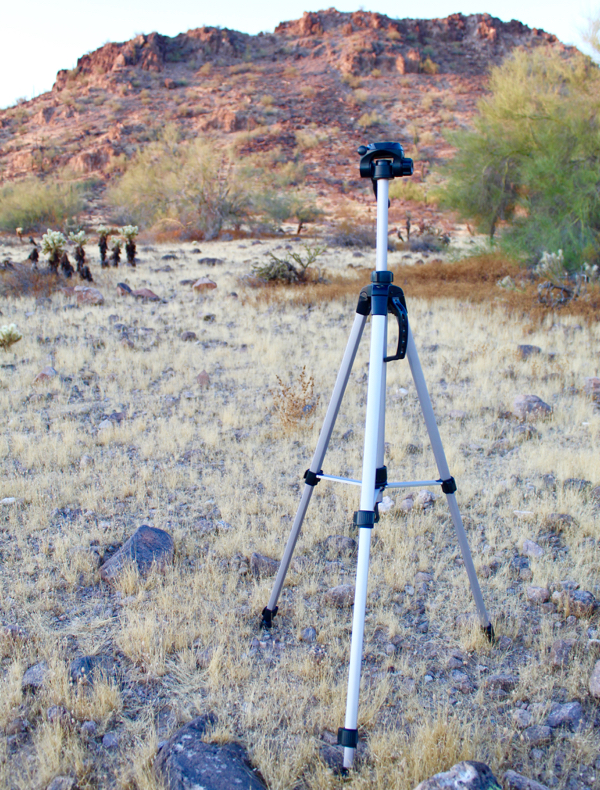
Now, on to the tripod. Tripods can be so helpful for capturing crisp, clear scenery shots and blur-free food photography. When you connect your camera to a tripod, you’ll lose all of that motion and shaky hands when taking photos… increasing the crispness. I use this Lightweight, Collapsible Travel Tripod. It’s so handy at home and when traveling! This is a must-have if you’re going after landscape shots, astrophotography, or long exposure.
#8: Use Photography Backgrounds
You know all of those amazing wood tables and brick backsplashes you see on photos? Well… many of them are actually just an illusion! Using printed rollout or Vinyl Photography Backdrops is such an easy way to easily achieve the look you’re going for, especially if you’re photographing food. And I do recommend the vinyl, so if any smudges or spills get on them, you can just wipe them right off.
#9: Always Have Light Bouncers and Reflectors Handy
Are you planning on taking some pictures inside? Foam Light Bouncers and Light Reflectors are the key to light, bright indoor photography. When paired with some good backgrounds, you have a great setup for food photography! As for the light bouncers, I use a simple White Foam Board to get the job done.
#10: Practice, Practice, Practice!
The most important tip of all is to practice, every single day. Like with most other skills, developing an eye for photography isn’t necessarily hard. It just takes time.
Even if you practice just for 5 or 10 minutes daily, you can quickly learn your camera’s functions. Repetition is key here!
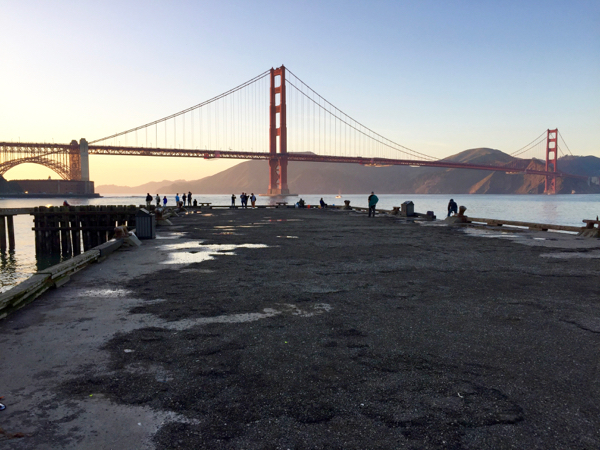
The Golden Gate Bridge as viewed from Torpedo Wharf, San Francisco, California
I hope this post has inspired you to start on the beautiful journey of photography improvement, something that can actually be a lot of fun! And in the blogging realm, good photography is everything. Otherwise, how else will you stand out from everyone else? 😉
Here’s everything you need to know about starting a blog and making extra money to save up for a camera…
How to Begin Your Blog
If you haven’t already started your blog, you can do so right now. It’s fast, surprisingly easy, and very affordable An all-around win, in my opinion! Go check out my tutorial for How to Begin a Blog Here.
Phone Camera Photography Tips
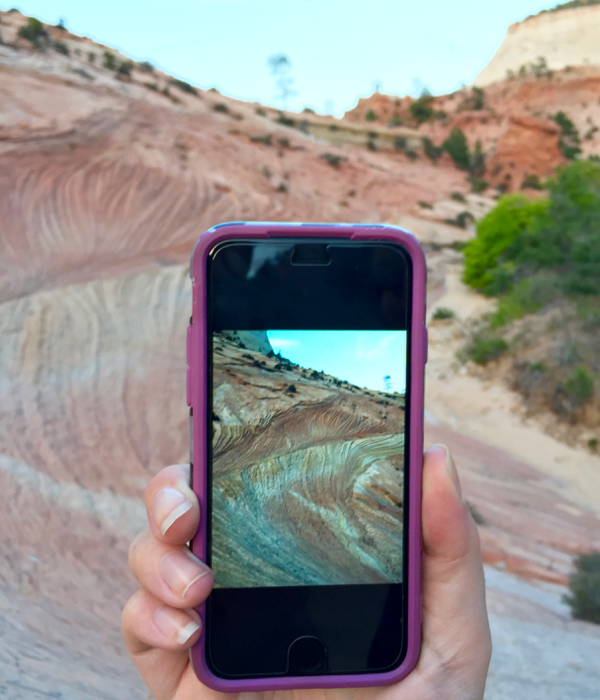
To kick of your journey of photography, go check out these 15 Phone Camera Photography Tricks. The best time to start is now!
Making Money From Home (5 Brilliant Tips)
And while you’ve started a blog and are improving your photography, check out these 5 Easy Ways to Make Money on the side, to start saving up for your camera!
So, now that you’ve seen all of these Blog Photography Tips and Tricks, don’t miss out on anything else! Follow along with Never Ending Journeys for more fun Travel Inspiration and Ideas!
So, what are YOUR Favorite Blog Photography Tips??
Leave a Comment and Share!



Max Beck says
I like that you touched on how the rule of thirds can help the symmetry of the shot so it looks more professional. My brother is trying to get better at photography because he enjoys it. He needs to get all the right gear so that he isn’t being held back at all.
Never Ending Journeys says
Thank you, Max! I agree. Getting the right gear is really the best way to advance your skill set, especially if you want to go professional.
Christie says
I loved reading all these awesome tips that you have shared! I always love to shoot with natural lighting and I really appreciate the tip about Leading lines!
Never Ending Journeys says
Thank you, Christie! I’m glad you like the tips!
LetsCurry says
I enjoyed reading this post thoroughly. I have taken a tip or two from this post today especially about using gridlines and the golden hour. I am guilty of not focusing too much on photography earlier and that gave such a dull look to my earlier blog posts. I’m still learning about the nuances and your post has tremendously helped. Thanks
Never Ending Journeys says
Thank you so much, I’m really glad you liked these tips!